Deprecated: Automatic conversion of false to array is deprecated in /home1/cramfarm/public_html/wp-content/plugins/zilla-likes/zilla-likes.php on line 320
0
How to Make Kombucha
Deprecated: Automatic conversion of false to array is deprecated in /home1/cramfarm/public_html/wp-content/plugins/zilla-likes/zilla-likes.php on line 220
There are lots of places on the internet to read about why we should be consuming fermented foods and drinks, so I’m not going to go into detail on that today. Bottom line is, kombucha is yummy and good for you because it contains good bacteria (probiotics). So let’s get right down to making it in our own homes.
This recipe is for 1 gallon of kombucha tea. You can make larger batches if you’d like just by multiplying this recipe.
Supplies/Ingredients:
- 1 gallon vessel, glass or ceramic (no metal)
- Paper towel, cheesecloth, or cloth
- Rubberband
- SCOBY (Symbiotic Community of Bacteria and Yeast)
- Mature Kombucha (typically the SCOBY will already be sitting in kombucha so use that)
- Tea (enough to make 1 gallon) – Black, green, white (avoid earl grey, heavily flavored, scented teas – added essential oils interfere with fermentation)
- Sugar – not for you, for the yeast (no raw honey or artificial sweeteners)
- Bring 1 quart of water to a boil.
- Once boiling, add the tea bag(s) and continue to boil for 5 minutes for black tea. If using green or white tea, you may want to boil a few minutes longer depending on how strong you want it.
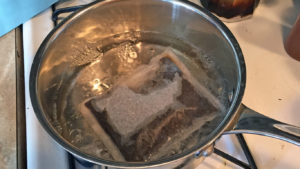
- Remove tea bag.
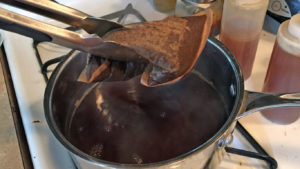
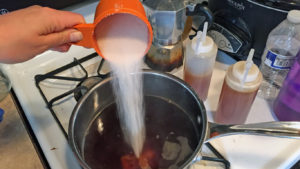
- Stir in 2 cups sugar. Best to do this when the tea is still hot so all the sugar is dissolved.
- Pour tea into vessel. I cool it a little first by adding cool water to the hot tea while still in the pot.
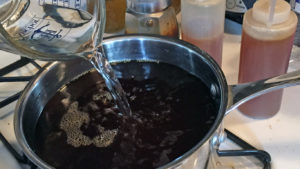
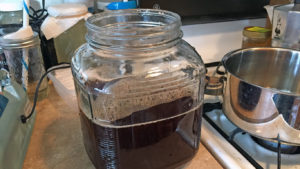
- Finish filling vessel with cool water, leaving room for your SCOBY and mature kombucha.
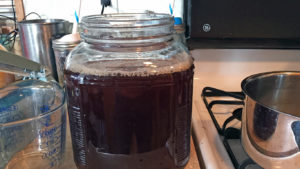
- Make sure the tea is about room temperature, then add your SCOBY and mature kombucha.
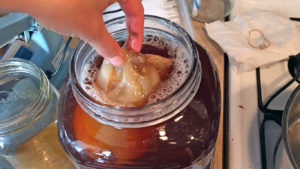
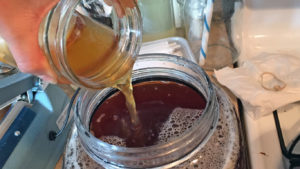
- Stir. If the tea is too hot it will kill the SCOBY and that would be sad.
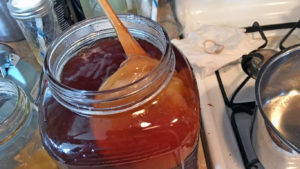
- Cover with paper towel, cheesecloth, or other cloth and secure with rubberband. We want the tea to breath and be exposed to air. Remember to write the date you made it so it’s easier to keep track of how long it’s been fermenting.
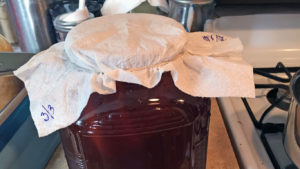
- Let sit on counter for about 7 days, then taste it to see if it’s to your liking. If it’s not quite fermented you can let it ferment longer, or if you like it on the sweeter side, you can ferment for fewer days. It’s whatever you like.
- Once the taste is to your liking, it’s time to bottle and refrigerate. Remove the SCOBY and set it in a jar with some kombucha. Cover with a cloth or paper towel, secure with a rubberband, and set aside.
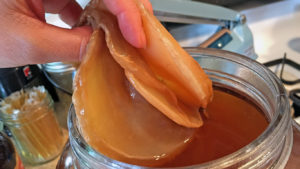
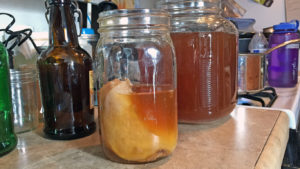 You will use this to start your next batch. Or two batches since you grew an extra SCOBY! A new baby SCOBY will grow on top of the mother SCOBY every time you make a batch. You can see the layers here, which easily pull apart.
- Pour the kombucha into bottles, then place them in the fridge. Refrigeration stops the fermenting process so your kombucha stays the way you like it. You may bottle and leave it on the counter for a few more days to create more carbonation, but if using glass bottles remember to burp it every day so the glass doesn’t explode. I prefer extra fizziness, so I tend to do this. Plus, I like my kombucha at room temperature.
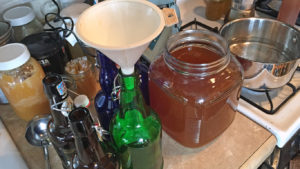
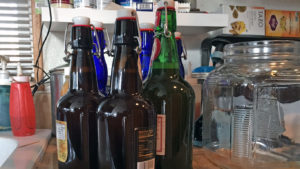
Second Fermentation (optional)
You may also do what’s referred to as a Second Fermentation, where you add flavor and more carbonation. To do so, you can leave your kombucha in the vessel you made it in, or pour into bottles and continue with the following steps. I always leave it in the gallon jar because it’s easier to remove the fruit when it’s finished.
Now you are ready to add fruit to your gallon of kombucha. Chop about ¼ to ½ cup of fruit. Don’t worry about an exact amount here – you just want to add some fruit to the jar. It will add flavor and the sugar in the fruit will feed the kombucha and create more fizziness. Cover with a lid and let it sit on the counter for about 3 more days or until you think it’s done. You’ll know by tasting it. Remember to burp it since glass doesn’t expand. When it’s done, discard the fruit (or feed it to your goats) and pour into bottles.
You can try any mixture of fruit you’d like. Ginger is one of our favorites. Fresh or dry fruit, even juice, may be used.
Some questions I’m often asked…
Why can’t I use raw honey?
While honey can be used, raw honey contains its own set of bacteria which may not play well with other types of bacteria. No need to prevent the success of our little kombucha bacteria friends.
What types of sugar can I use?
Organic sugar, brown sugar, molasses, honey (pasteurized), agave (1/2 cup per gallon), maple syrup (1 cup or so per gallon).
What type of water is best?
We want to use water that doesn’t contain chlorine, because it will kill the bacteria. Filtered water will work just fine. I’ve heard of distilled water being used, but the downside is that it doesn’t contain minerals which are good for us to consume.
How long will my SCOBY live?
SCOBY’s are very hearty and difficult to kill (unless you pour bleach on it or boil it). I once left a SCOBY sitting in kombucha in a jar (lid screwed on) on my counter for 3 months, and the little dude survived. I didn’t fee it once. I completely forgot about it. When I opened it everything was fine, so I made a batch of kombucha with it. The only thing different I did was I added ¼ cup of white vinegar to help activate it since it hadn’t eaten in so long.
What should I do with my extra SCOBY’s?
Oh so many options here. A couple favorites are: give to a friend so she can make kombucha, or feed them to my goats (they LOVE them).
You can also compost them, add them directly to your soil, eat them (haven’t tried it, but apparently they make good sushi rolls), or make them into clothes! I know you think that’s crazy but it’s actually a thing.
Another excellent option is to keep them in a SCOBY hotel. Place SCOBY after SCOBY in a jar with kombucha (or even sweet tea), cover with a cloth or paper towel and rubberband, and let sit until you need one. Every so often I will empty the liquid and replace with fresh sweet tea so it has something new to eat. But I’ve left it alone for a good 6 months and the SCOBY’s are still fine.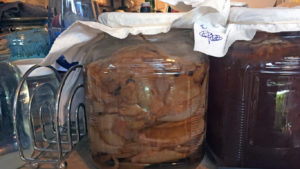
What’s a continuous brew?
This is basically a way to make a lot of kombucha faster and more convenient. Typically, a 2+ gallon vessel with a spout is used. It’s made the same way as described above, but when it’s done, you fill bottles using the spout or (if you’re like me and get too busy to fill bottles) you’ll put it directly into your cup and drink it. When the vessel is down to a quarter or half way full, it’s time to start another batch. All you need to do is make sweet tea and add it to your large vessel (make sure it’s cool enough). Since there’s already a lot of mature kombucha in the vessel, it will ferment faster. No need to remove the SCOBY or set anything aside for a new batch. Just leave everything in there.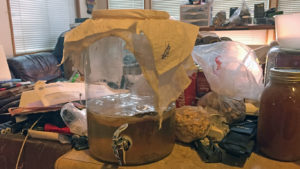


Hey Ginny! I have a photo off my first batch and see some dark green spots looking like mold. Should I assume it’s bad and start over?
Yikes! Yes, I recommend starting over. I’ve heard of people cutting out the mold spots, but I can’t recommend doing that since I don’t know what caused it, how bad it is, or if it will come back. Hopefully you have some scoby on reserve. Check out this link for more info and pictures of healthy and moldy scoby.
http://www.kombuchabrooklyn.com/blog/kombucha-mold-need-know/